Care of your Awning
The Material
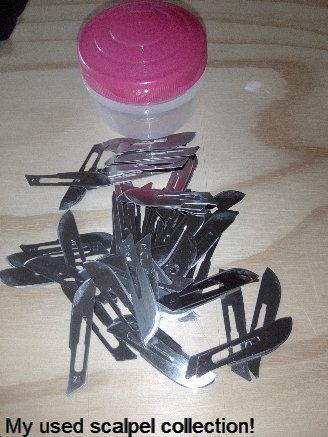 It's 210denier, 110gsm, triple-line, diamond-lattice, PU-coated, oxford fabric, ripstop nylon. It is both light and very strong (a 3 inch strip was happy to support the ball weight of our van with me standing on it!). It's also really hard to rip. But it's not indestructable! It is for example, very easy to cut. As an aside, it's just as well that it's easy to cut or I'd be totally stymied but nonetheless each awning uses at least 2 brand new surgical scalpels! I've said it before but the reminder is worthwhile: before you use your awning, make sure that your sailtracks are really smooth (if you're game, try the "tongue-test"!!). Any jagged or sharp edges will shred the material in no time!
Needless to say, keep it away from naked flames - it melts. (And never get hot melted nylon on your skin - it hurts!)
We always provide a reasonably large offcut or 2 when we ship an awning. This serves 3 purposes. You can:
1. test before applying any chemicals, detergents etc;
2. repair small cuts; and
3. make a small something that matches your awning if you're that way inclined.
If you want more, just let us know, we have plenty of smallish scraps.
The material is "showerproof". We've found ours to be a lot more than just "showerproof" but if you want to make it even more "showerproof", you could always try a coat of "scotchguard". Do it outside, on a still day, hang it over eg a washing line and be careful not to breath it!
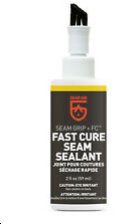 When we join 2 pieces together, we use "felled" seams, and by "we" I mean Annie(!) - it's an interlocked join (so there are no raw edges, top or bottom) with basting tape in the middle. This gives us a strong, good-looking and weather-resistant join. As a "belt and braces" approach, we also treat the seams with a coat of seam sealer before we ship. For this, we use Gear Aid Fast Cure Seam Sealant. It's easily obtainable on ebay. Not cheap but easy to use and does a great job if you ever feel the need to give another coat.
The Rods
The 6mm fibreglass rods are core to our unique design and for ease of use they run rings around the traditional stitched rope approach. We supply 3 rods in most cases. A short one for the flapover (if applicable) and 2 long ones for the sailtracks. On each end of each rod, we glue a stainless steel end cap to ensure smooth running through the material. It's very unlikely but if one should come loose, just apply a couple of drops of superglue and leave it to dry overnight.
 We ship all 3 rods with a small cable tie attached to one end. This is for ease of handling when you're setting up or pulling down the awning. It also helps to stop the small rod from slipping out of, or through, the flapover. If it breaks, or you took it off, or you don't like it, never mind: it's easily replaced with another... or a piece of string, wire, chain or an R clip or a keyring or whatever.
By the way - if you ever manage to lose or destroy a rod (I'd love to know how you destroyed it!), we can provide you with a replacement at cost.
The Anchors
They are welded, stainless steel d rings. Because they are welded, they won't spring open and because they are stainless steel they are resistant to corrosion. Resistant but not impervious! Stainless Steel will rust - especially in a corrosive environment like Europa (Jupiter's salty moon) or a beach. (That's why it's called "stain-less" and not "stain-proof"). Fear not though, if you ever get rust it's easily removed, especially if you catch it early, and even easier to prevent.
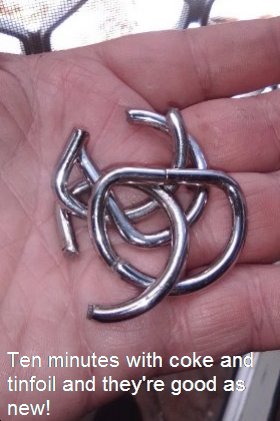 To remove rust: pour some coca-cola on a paper towel and use that to wet the ring. Then rub the affected area with a small piece of tin foil. Repeat as necessary. You'll find you should be rust-free in very little time. Then rinse off with some hot soapy water, dry and apply a coat of something to protect the metal from future exposures. (NB - there are other ways too, but this one certainly worked well for me!)
Protecting the steel - I rather think there are probably hundreds of potential products to do the job. But those springing immediately to mind include: estapol, car wax, wd40, brasso and nail varnish!
The Underhooks
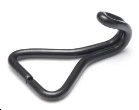 Located under the flapover, those 2 black hook thingies are designed to hook under your roof lip to prevent wind gusts from lifting the awning. If you have any trouble reaching these, a piece of string tied to each will make life a lot easier - or bend a wire coat hanger and keep it handy.
Sailtrack versus Flapover
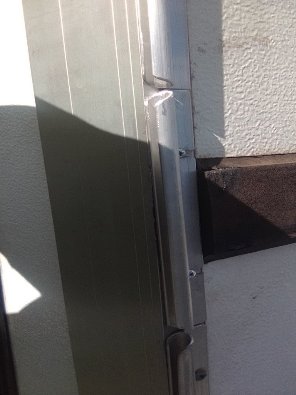 I've always maintained that 2 full length sailtracks is better than one and a half tracks plus flapover. It isn't a particularly difficult job for a handy type and our proposed solution gives you the best of both worlds: the ability to use our awning as well as the avan canvas annex. Thinking ahead, it's a useful selling point. Details are here - Installing Sailtracks.
Tie-up Ribbons
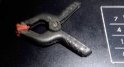 When we roll/scrunch up our sides to enjoy the view, we just use a couple of Reject Shop spring clamps. They cost bugger all and are really easy. We are resisting providing tie-up ribbons for the purpose (we caved once but never again!) but while we were mulling we thought that anybody who wanted that feature could very easily meet the need by sewing some shoelaces (or part thereof) just above the seam, inside and out. I'd avoid trying to sew through the seam though, especially by hand, it's hard!
Poles
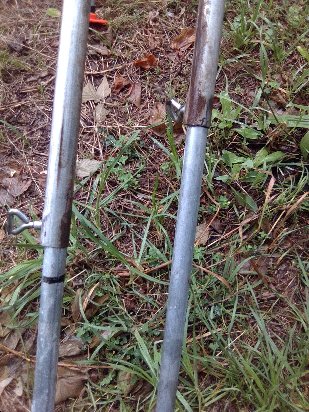 When you're setting up, there's an easy way to get the pole heights exactly right. When the awning is in the sailtracks, you can set the height of the two inside poles by holding them where the awning seams meet the sailtrack. Set the two outside poles at the same height as the end of the sailtrack. Once set, mark the poles using a sharpie for even easier setup in future.
Storing
Not much to say here except it's a good idea to let it dry out before storing for a long time.
Any Other Ideas?
Please let us know!